SIMPLE INTRO:
1:Start by modelling a cylinder. Go to Create panel>Systems>Bones, and create 3 bones as shown:

2: Add a skin modifier to the cylinder , and in the panel click ‘Add bones’. Add the 3 bones you have made, and now by rotating the bones you can bend the cylinder. However, you get a lot of horrible folding of the mesh.
3. Click on the cylinder, click skin, then the envelope option that appears. With this, you can adjust the influence of each bone over the mesh.

4. Check the ‘select vertices’ button on the envelope panel of the create panel. You can select rings of vertices and change the ‘Weight Properties’>’Abs. Effect’ variable from 1 down. 1 represents 100% influence, .5 equals 50% etc.
CHARACTER RIG
1: NB- these methods use the CAT system available only in newer versions of MAX. Model a character, like below. Click hierarchy then reset transform and scale. (just in case)

MAKING A ‘CAT’ SKELETON
1: Freeze your character model. Go to Create> Helpers, then change the scroll box to CAT objects. Click ‘CAT Parent’ choose none, and drag out a controller beneath your character. Now at the bottom of the create panel click ‘Create pelvis’. A small box will be created- line it up with the pelvis area of your model. Click ‘add leg’ and a series of boxes resembling a leg will appear, down to the ground (where the controller you created is located)
2: Underneath the leg is a spline rectangle- this is a controller for the leg. when moving the feet etc move this controller, dont move the feet themselves. Keep this on the ground plane. When the foot is positioned, clcik on the add digit button to add ‘toes’ Add one digit, and two bones will appear. Rotate and scale the leg bones to match the proportions of the model. A useful tip is to take the thigh and shin bones, and change ‘segments’ to two- this way you can rotate bones at the halfway points, which will affect the mesh less drastically.
3: Once you are happy with your leg, select the pelvis again and select ‘add leg’ to create a copy of the adjusted leg you just made, on the other side. The benefit of CAT is that the IK is created automatically, and the legs etc are easily duplicated. Now click on the pelvis again, and add a spine. The spine will be created with a ribcage at the top. The ribcage is similar to the pelvis, in that other limbs etc such as arms can be attached to it.
4: Add arms and adjust them in the same way as the legs- remember to add digits to the hand before adding the second arm, and split the forearms into more segments for smoother mesh transformation.

5: To create a head/neck select your ribcage, and one again add spine. Just adjust the bones and neck to line up with the model.
SKINNING THE MODEL
1. Unfreeze the mesh, and choose a skin modifier. In the bones box, select all the objects with a name beginning with CAT.
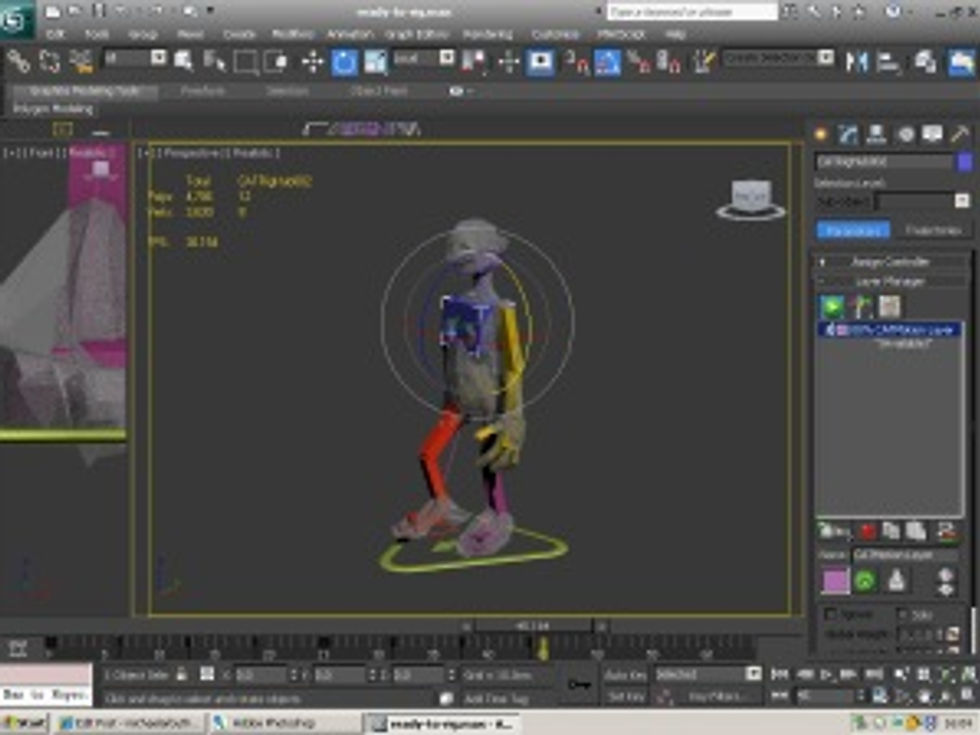
To add a basic walk animation, click the motion tab in the create panel (4th across- wheel icon). Under the section marked Layer manager, click the first button under the empty list box – A little sheet of paper with Abs written beside. Click this and choose the bottom option- a little green man running. This will add an item to the list, and a walk cycle has been created- scrub through the time line, and you will see your model walk.

2. Unfortunately- the default walk is pretty goofy and unrealistic, with legs bending the wrong way etc. To fix this, open the CATMotion Editor (the green paw button underneath the list box. From here you can adjust many parameters of the walk, such as height of hips, sway ammount, twist, etc.

NB To clean up your window, you can switch off geometry, bones etc- to do this, go to ‘Display’ (5th tab in the create panel and in the ‘Hide by Category’ section click the relevant box.
3. Chances are, you modelled your character with his arms spread to the side. To fix this and make the walk more natural, create an adjustment layer in the ‘Motion> Layer Manager’ area.. Do this by choosing the button under the layer list with the ‘+L’ label. Ensure the adjustment layer is active , then make the necessary changes to the model.
These layers can be used to create different amimations.
+L is a ‘local’ adjustment layer
+W is a ‘world’ adjustment layer
Comments